| Printhead |
XP600 |
DX7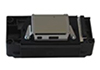 |
DX5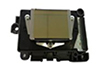 |
i1600A1/E1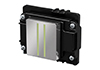 |
i3200A1/E1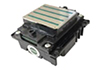 |
| Printspeed |
3 pass |
- |
- |
- |
15m²/h |
30m²/h |
| 4 pass |
10m²/h |
12m²/h |
12m²/h |
10m²/h |
20m²/h |
| 6 pass |
7m²/h |
8m²/h |
8m²/h |
7.5m²/h |
15m²/h
|
Especificaciones:
| Modelo |
PL-1850A |
| Cabezal |
Cabezal Epson DX5,180 inyectores * 8 * Líneas, de alta calidad de hasta 1440 dpi |
| Máximo de Impresión |
1800mm |
| Prinhead |
xp600 |
DX7 |
DX5 |
i1600A1/E1 |
i3200A1/E1 |
| Velocidad de Impresión |
3 pasadas |
- |
- |
- |
15m²/H |
30m²/H |
| 4 pasadas |
10m²/H |
12m²/H |
12m²/H |
10m²/H |
20m²/H |
| 6 pasadas |
7m²/H |
8m²/H |
8m²/H |
7.5m²/H |
15m²/H |
| Tinta |
Tipo |
Tinta a base de agua / tinta eco-solvente, tinta a base de agua; Tinta de sublimación |
| Capacidad |
4 Colores, 220ml cada una |
| Media |
Grosor |
1.5mm a 8mm ajustable |
| Maximo peso del rollo |
75KG |
| Tipo |
PP papel sintético, láminas de vinilo, película, papel recubierto, papel resistente a los ácidos,Banner, lienzo, hoja adhesiva de vinilo, Banner y así sucesivamente. |
| Impresión Alta Calidad |
Tres funciones de impresión inteligente tecnologia VDI |
| Calefacción |
Pre calentador y post calentador (puede ser controlado por separado) |
| Recolector de material |
Fuerte dispositivo de recolección con válvula automática . |
| Sistema de secado |
Sistema de secado |
| Interface |
USB 2.0(480m/s) |
| Software RIP |
MaintopV5.3、Photoprint、Seeget、Torpaz、Wasatch、Onyx |
| Parametros de enrgía |
AC 110V±10%、AC220V±10%、50/60±1Hz |
| Ambiente operacional |
Temperatura: 20°C~35°C; Humedd: 35%RH~65%RH |
| Energía |
600W |
| Dimensipón de impresión |
L2837mm*W455mm*H1300mm |
| Dimensión de embalaje |
L2870mm*W820mm*H500mm |
| Peso Neto |
125KG |
| Peso |
185KG
|
Los parámetros anteriores son solo como referencia, dependiendo del ancho de la impresión, hay una división del 10% ~ 20%.

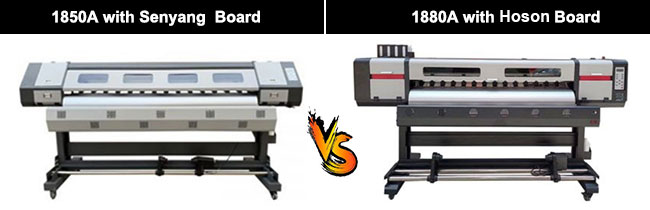 |
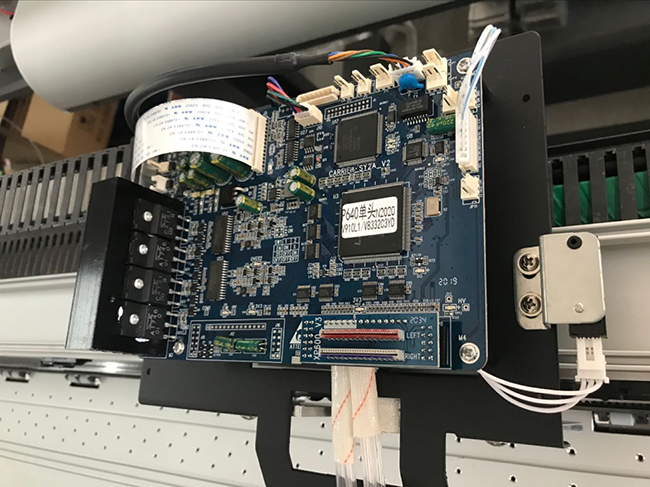
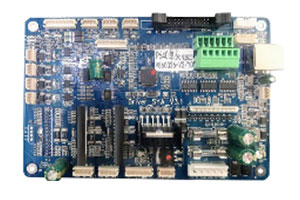
| Tarjeta Madre |
 |
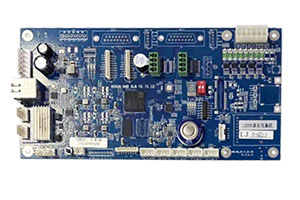 |
| Tarjeta Senyang |
Tarjeta madre Honson: mayor velocidad de impresión, mejor calidad de color y mejor rendimiento operativo. |
| Control de Temperatura |
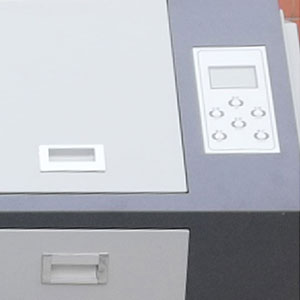 |
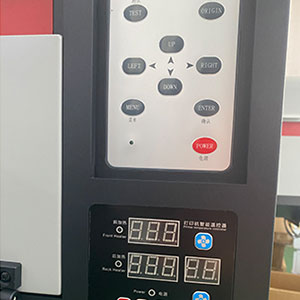 |
| Temperatura fija, sin posibilidad de ajuste. |
Control de temperatura con autorregulación. |
| Sistema de Rebobinado (Media Take-up Device) |
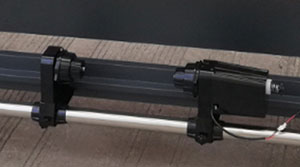 |
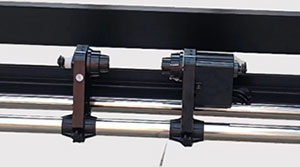 |
| Dispositivo de baja velocidad de 24V. |
Dispositivo con motor único de 220 V, bobinado más potente y velocidad ajustable. |
| Sistema de Secado |
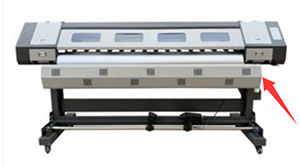 |
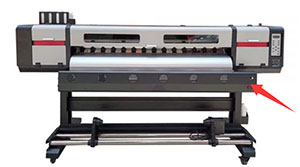 |
| Ventilador de secado de 150W. |
Sistema de secado térmico por infrarrojos de 3000 W más ventilador, facilita el secado a altas velocidades de impresión. |
| Motor de Conducción (Driver Motor) |
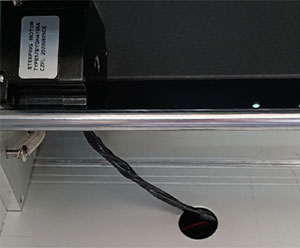 |
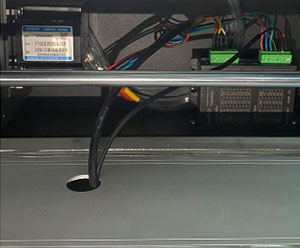 |
| Motor paso a paso. |
Servomotor de alta velocidad. |
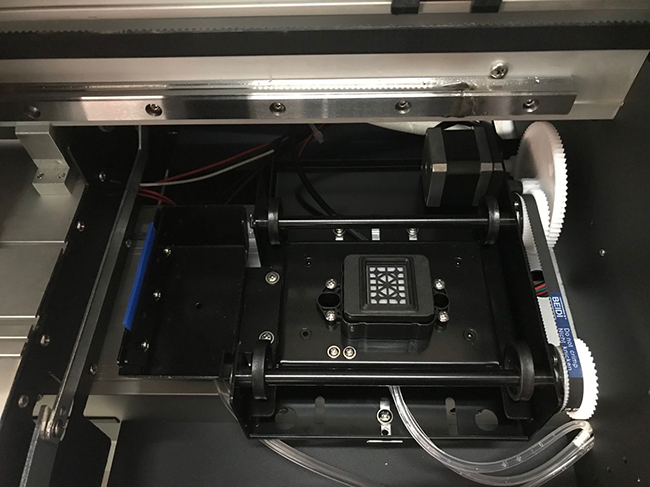
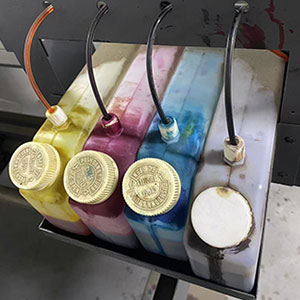
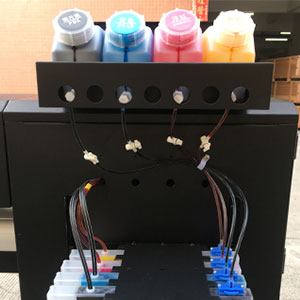
| Tanque Principal de Tinta |
 |
 |
| Capacidad baja de almacenamiento en cartuchos y suministro de tinta inestable. |
Sistema de suministro continuo que aumenta la capacidad de almacenamiento y la presión de tinta, reduciendo el riesgo de que la tinta se agote durante la impresión. |
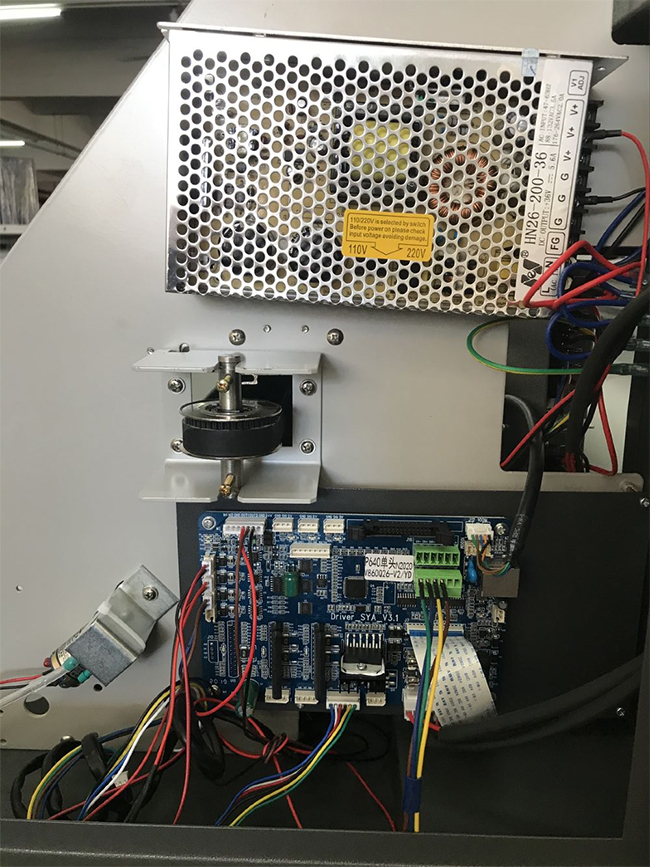
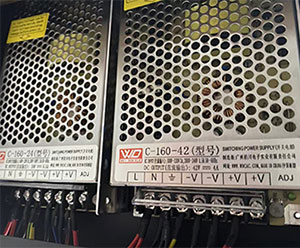
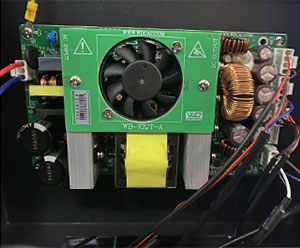
| Fuente de Alimentación |
 |
 |
| Fuente de alimentación tipo dividida. |
Fuente de alimentación integrada, con control de potencia más estable y mantenimiento sencillo. |
Install the tripod:
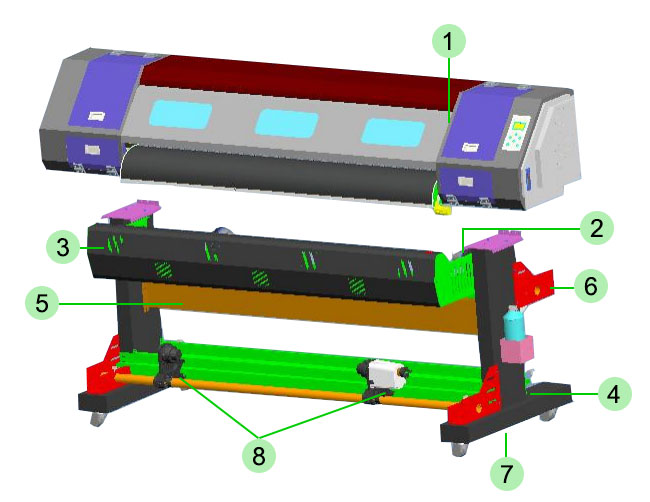
Component Names:
1.Main Body
2.Paper Feeding System
3.Dryer
4.Iron Legs
5.Crossbeam
6.Support Fixing Plate
7.Leg Frame
8.Paper Collecting System
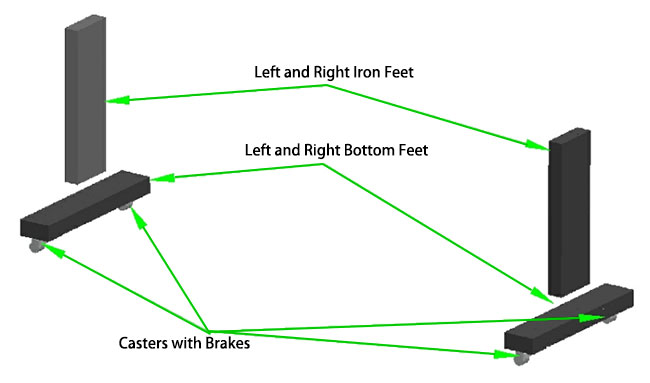
2.Install the tie rods and crossbeam between them and secure with 22 inner hex bolts (M5×10), as shown in the diagram.
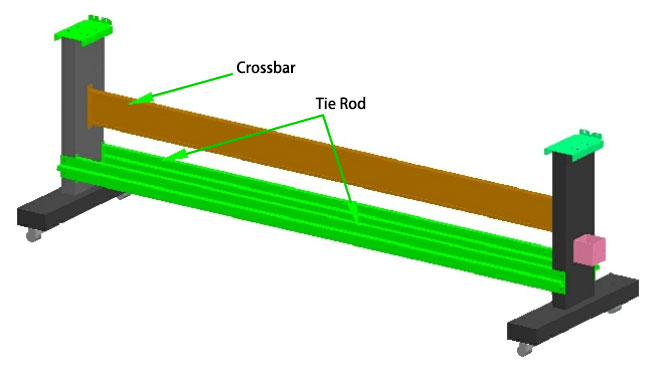
3.Fix the support fixing plate to the left and right iron legs and the left and right base feet using 6 inner hex bolts (M5×10).
Then, secure both ends of the support fixing plate using 4 inner hex bolts (M6×25).
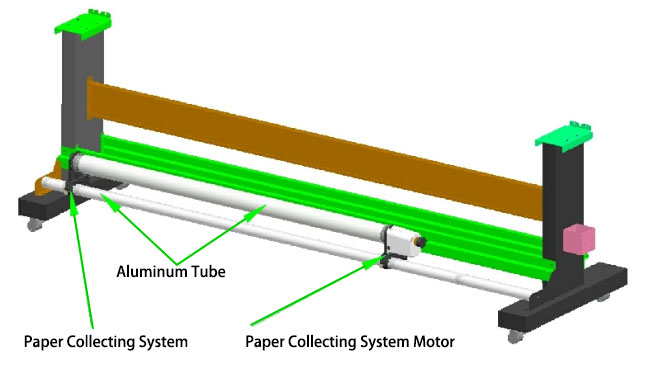
Place the assembled paper collection motor module and the paper collecting module onto the aluminum tube.
Then secure them using 2 straight-knurled handles (M5×25) to the left and right support parts, as shown in the diagram.
4.Attach the fan support components to the left and right iron legs using 8 inner hex bolts (M5×10).
Then fix the assembled dryer onto the support using 8 inner hex bolts (M4×10), as shown in the diagram.
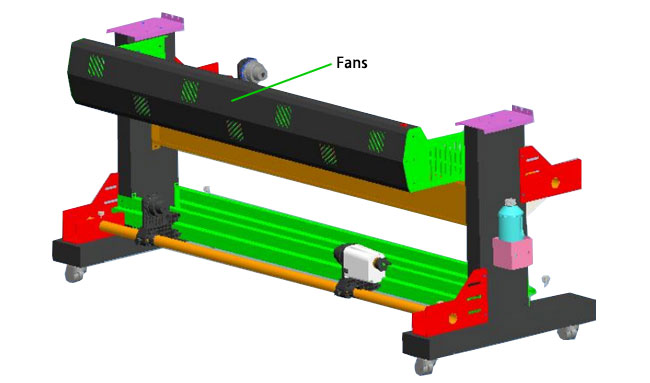
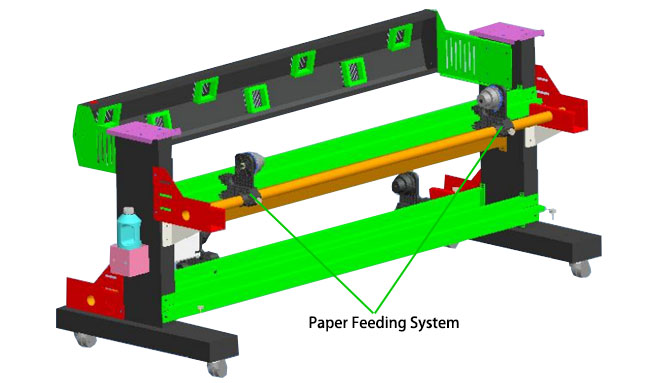
5.Fix the support fixing plate to the left and right iron legs and the base feet using 6 inner hex bolts (M5×10).
Then secure both ends of the support fixing plate using 4 inner hex bolts (M6×25).
Place the assembled paper feeding module onto the aluminum tube.
Then secure it using 2 straight-knurled handles (M5×25) to the left and right support parts, as shown in the diagram.
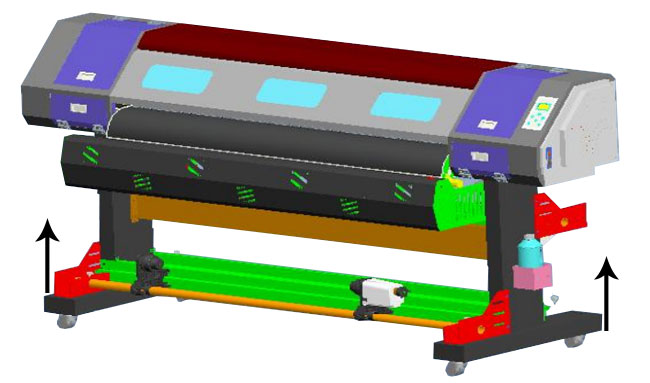
6.After completing the steps above, mount the main body onto the leg frame. Align the circular holes and secure using 4 inner hex bolts (M5×10) (tighten in the direction shown by the arrow), as shown in the diagram.

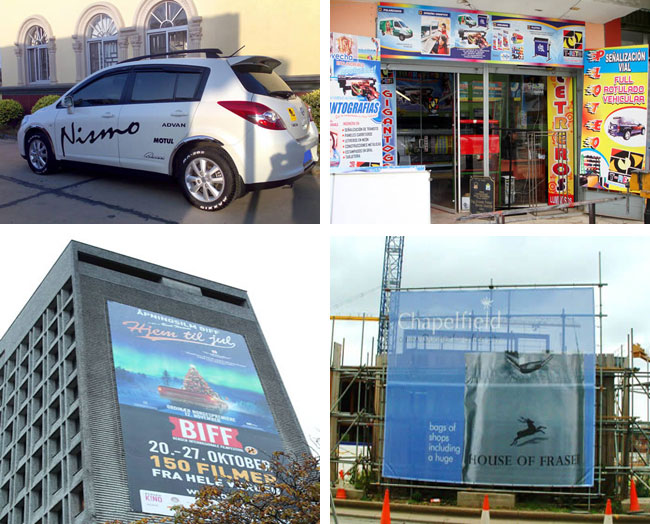
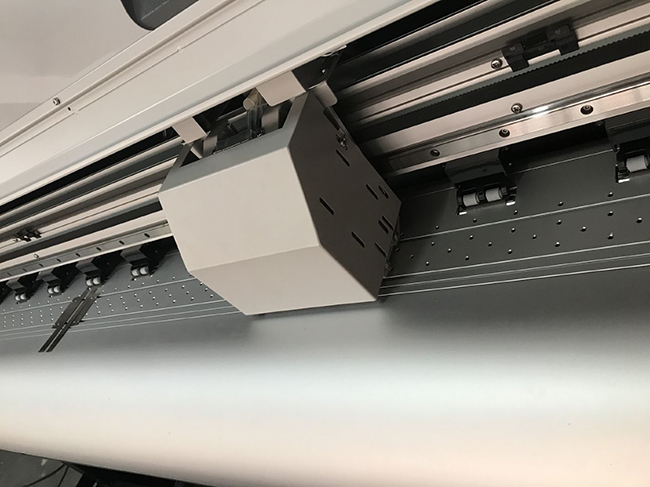
Para todas las impresiones de publicidad al aire libre en la caja de luz, cartelera, carretera, vehículos, edificios.